

Are there any safety precautions when replacing a gas oven igniter?
Apr 13, 2026
Leave a message
Hey there! As a gas oven igniter supplier, I've seen my fair share of folks looking to replace their oven igniters. It's a task that can seem a bit daunting at first, but with the right know - how and safety precautions, you can handle it like a pro. In this blog, I'll walk you through all the safety steps you need to take when replacing a gas oven igniter.
1. Power and Gas Off
The very first thing you gotta do is turn off both the power and the gas supply to the oven. This might sound like a no - brainer, but you'd be surprised how many people skip this crucial step.
To cut off the power, you can either unplug the oven from the electrical outlet if it's a plug - in model. For hard - wired ovens, head over to your circuit breaker panel and switch off the breaker that controls the oven. This stops any chance of electrical shock while you're working on the igniter.
As for the gas, locate the gas shut - off valve. It's usually near the back of the oven or along the gas line. Turn the valve clockwise until it's fully closed. This prevents any gas leaks during the replacement process. Gas leaks can be extremely dangerous, as gas is highly flammable and can cause explosions or fires.
2. Ventilation
Once you've turned off the power and gas, make sure the area where you're working is well - ventilated. Open some windows or turn on an exhaust fan. Even though you've shut off the gas supply, there might still be some residual gas in the oven or the surrounding area. Good ventilation helps to disperse any gas that could be lingering, reducing the risk of inhaling harmful fumes.
3. Protective Gear
You wouldn't go on a bike ride without a helmet, right? Well, when you're replacing a gas oven igniter, you need to wear the right protective gear.
Put on a pair of safety goggles to shield your eyes from any debris that might fly up while you're taking the oven apart. Gloves are also a must. They protect your hands from sharp edges on the oven parts and any chemicals that might be on the old igniter.
4. Inspect the New Igniter
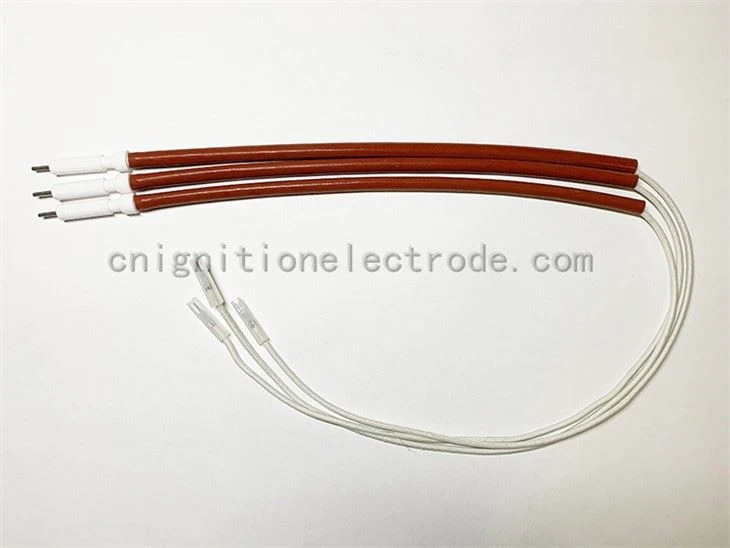
Before you start the replacement, take a good look at the new igniter you've got. Make sure it's the right model for your oven. You can check the oven's manual or look up the specifications online.
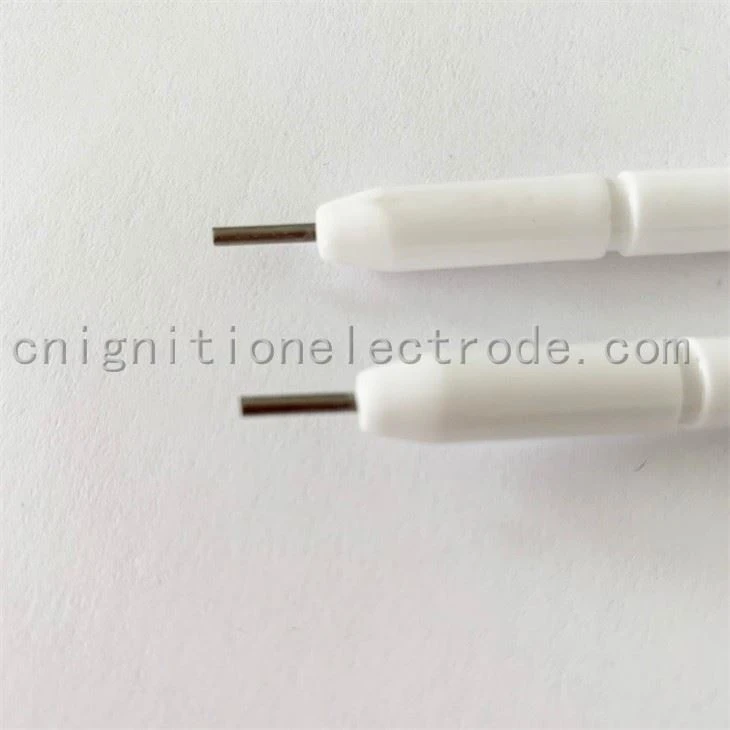
Inspect the igniter for any visible damage, like cracks or broken wires. A damaged igniter won't work properly and could even pose a safety risk. If you notice any issues, don't use it. Contact your supplier (like me!) to get a replacement.
Here are some of the great igniters we offer: Ignition Electrode for Gas Grill, Ceramic Gas Oven Ignition Electrode, and Alumina Spark Plug For Oven.
5. Remove the Old Igniter
Now it's time to take out the old igniter. First, open the oven door and remove any racks or other accessories inside. This gives you more space to work.
Locate the igniter. It's usually near the burner. You'll see some wires connected to it. Use a screwdriver to carefully loosen the screws that hold the igniter in place. Then, gently pull the igniter out. Be careful not to tug too hard on the wires, as this could damage the wiring in the oven.
Once the igniter is out, take a picture of how the wires were connected. This will come in handy when you're installing the new one.
6. Install the New Igniter
Place the new igniter in the same position where the old one was. Line it up properly and use the screwdriver to tighten the screws. Make sure it's securely in place.
Now, connect the wires to the new igniter. Refer to the picture you took earlier to ensure you're connecting them correctly. If you're not sure, double - check the oven's manual.
7. Check for Leaks
After you've installed the new igniter, it's time to check for gas leaks. First, turn the gas supply back on by opening the gas shut - off valve counterclockwise.
Mix some dish soap and water in a spray bottle. Spray the solution on all the gas connections, including where the gas line attaches to the oven and where the igniter connects to the gas system. If you see bubbles forming, that means there's a gas leak.
If you find a leak, turn off the gas immediately and tighten the connections. If the leak persists, don't try to fix it yourself. Call a professional gas technician.
8. Test the Igniter
Once you've confirmed there are no gas leaks, it's time to test the new igniter. Turn the power back on by plugging in the oven or switching on the circuit breaker.
Set the oven to a low temperature and wait for the igniter to spark. If it doesn't spark, double - check your wiring connections. If everything looks okay but it still won't work, there could be an issue with the igniter itself or another part of the oven. In this case, it's best to consult a professional.
9. Clean Up
After the replacement is successful and the oven is working properly, clean up the area. Put the oven racks and accessories back in place. Dispose of the old igniter properly.
10. Professional Help
If at any point during the replacement process you feel unsure or uncomfortable, don't hesitate to call a professional. Gas ovens can be complex, and it's better to be safe than sorry. A professional technician has the experience and tools to handle the job safely and efficiently.
In conclusion, replacing a gas oven igniter can be a DIY project if you follow these safety precautions. But always remember, your safety is the top priority. If you're in the market for a high - quality gas oven igniter, we've got you covered. We offer a wide range of igniters like the ones I mentioned earlier. If you have any questions or are interested in purchasing, feel free to reach out to us for a friendly chat and a great deal.
References
- General guidelines on gas appliance safety from industry standards.
- Oven manufacturer's manuals for specific safety instructions.