

How do I check the insulation resistance of a gas grill ignition electrode?
Oct 23, 2026
Leave a message
Hey there! As a supplier of Gas grill ignition electrodes, I often get asked about how to check the insulation resistance of these electrodes. It's a crucial step in ensuring the proper functioning and safety of your gas grill. In this blog, I'll walk you through the process in a simple, easy - to - understand way.
Why Check Insulation Resistance?
Before we dive into the how - to, let's talk about why it's important to check the insulation resistance of a gas grill ignition electrode. The insulation around the electrode is there to prevent electrical current from leaking. If the insulation is damaged, it can lead to a variety of problems. For one, it might not generate a strong enough spark to ignite the gas, leaving you with a grill that won't light up. It can also pose a safety risk, as electrical leakage could potentially cause a short - circuit or even a fire. So, regularly checking the insulation resistance is a must - do for any gas grill owner.
Tools You'll Need
To check the insulation resistance of a gas grill ignition electrode, you'll need a few basic tools:
- Insulation Resistance Tester: This is the key tool for the job. It measures the resistance of the insulation around the electrode. You can find these testers at most hardware stores.
- Safety Gloves: Since you'll be dealing with electricity, it's important to protect your hands. Wear a pair of insulated safety gloves to avoid any electrical shocks.
- Screwdriver: You might need to remove some parts of the grill to access the ignition electrode. A small screwdriver will come in handy for this.
Step - by - Step Guide
Step 1: Safety First
Before you start, make sure the gas supply to the grill is turned off. This is crucial to prevent any gas leaks or potential explosions. Also, unplug the grill if it's an electric - ignition model.
Step 2: Locate the Ignition Electrode
The ignition electrode is usually located near the burner. You might need to remove the grill grates, burner covers, or other components to get to it. Use your screwdriver to carefully remove any screws or fasteners holding these parts in place.
Step 3: Prepare the Insulation Resistance Tester
Turn on the insulation resistance tester and set it to the appropriate range. Most testers have a range of options, so choose one that's suitable for the type of electrode you're testing.
Step 4: Test the Insulation Resistance
Connect the tester's leads to the electrode. One lead should be connected to the metal part of the electrode, and the other lead should be connected to a ground point on the grill. The ground point is usually a metal part of the grill frame. Once the leads are connected, the tester will display the insulation resistance value.
Step 5: Interpret the Results
The insulation resistance value should be within a certain range. If the value is too low, it means the insulation is damaged, and the electrode might need to be replaced. A good rule of thumb is that the insulation resistance should be at least several megohms. If the value is close to zero, it's a clear sign of a problem.
Common Issues and Solutions
Sometimes, you might encounter some issues during the testing process. Here are a few common problems and how to solve them:

Low Insulation Resistance
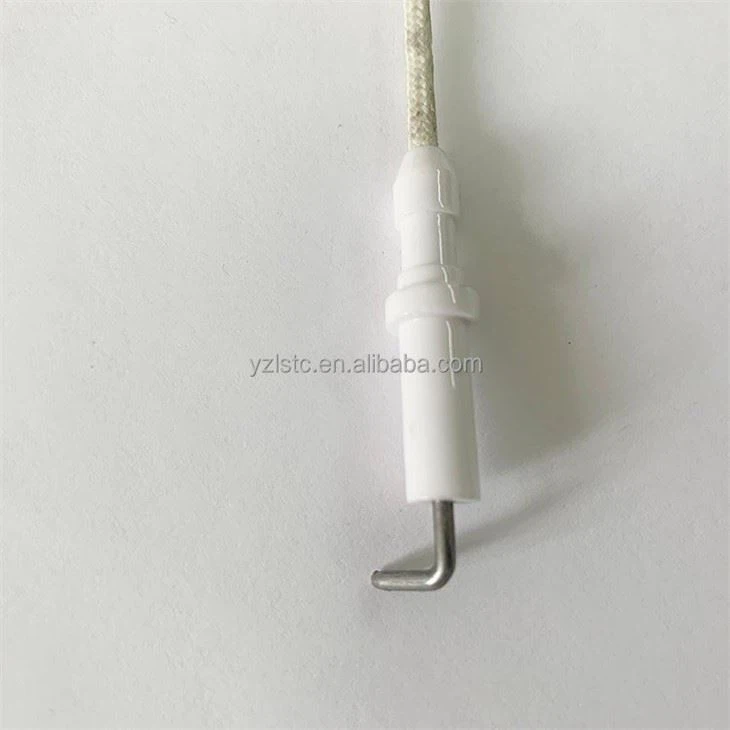
If the insulation resistance is low, it could be due to a few reasons. One possibility is that the insulation has been damaged by heat, moisture, or physical impact. In this case, you'll need to replace the ignition electrode. You can find high - quality ignition electrodes on our website, like the Spark Electrode For Gas Oven and the Ceramic Spark Electrode For Oven.
No Reading on the Tester
If the tester doesn't show any reading, it could be because the leads are not properly connected. Double - check the connections and make sure they are secure. It could also be a problem with the tester itself. Try testing the tester on another known - good electrical component to see if it's working.
Inconsistent Readings
Inconsistent readings could be a sign of a loose connection or a problem with the electrode. Check all the connections and make sure they are tight. If the problem persists, it might be time to replace the electrode. You can consider our gas oven ceramic spark plug ignitor, which is known for its reliability.
Maintaining Your Ignition Electrode
Once you've checked the insulation resistance and ensured that the electrode is in good working condition, it's important to maintain it properly. Here are a few tips:
- Keep it Clean: Over time, dirt and debris can accumulate on the electrode, which can affect its performance. Use a soft brush or a cloth to clean the electrode regularly.
- Protect it from Moisture: Moisture can damage the insulation of the electrode. Make sure to keep the grill covered when not in use, especially during rainy or humid weather.
- Check Regularly: It's a good idea to check the insulation resistance of the ignition electrode every few months. This will help you catch any potential problems early on.
Conclusion
Checking the insulation resistance of a gas grill ignition electrode is an important part of maintaining your grill. By following the steps outlined in this blog, you can ensure that your grill is safe and functioning properly. If you have any questions or need more information about our gas grill ignition electrodes, feel free to reach out. We're always here to help you with your ignition electrode needs and can provide you with high - quality products for your gas grills. Whether you're a professional chef or a home griller, having a reliable ignition electrode is essential for a great grilling experience. So, don't hesitate to contact us for all your ignition electrode requirements.
References
- Electrical Safety Standards for Gas Grills, National Fire Protection Association
- Grill Maintenance Guide, American Gas Association