

How do I test a gas grill igniter?
Jul 01, 2025
Leave a message
As a seasoned supplier of gas grill igniters, I understand the importance of ensuring these components work flawlessly. A malfunctioning igniter can turn a pleasant grilling experience into a frustrating one. In this blog, I'll share detailed steps on how to test a gas grill igniter, drawing from my extensive knowledge in the industry.
Understanding the Gas Grill Igniter
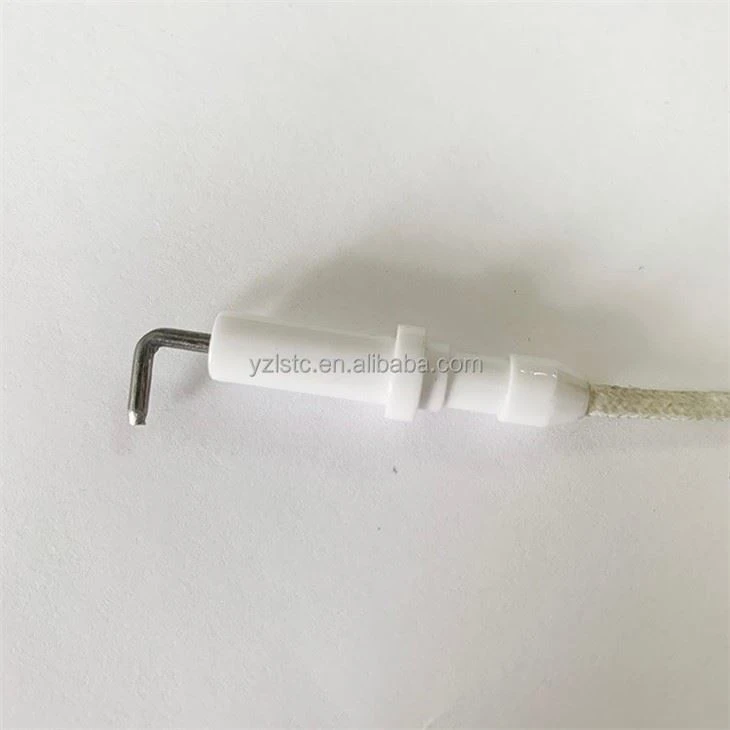
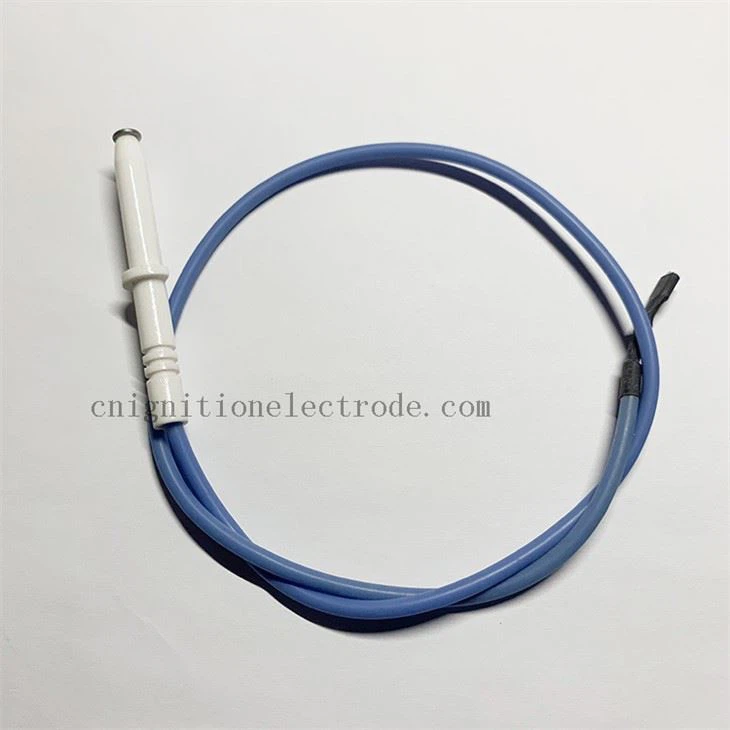
Before we dive into testing, it's essential to understand what a gas grill igniter is and how it functions. A gas grill igniter is a crucial component that creates a spark to ignite the gas in your grill. There are two main types: piezoelectric igniters and battery - operated igniters. Piezoelectric igniters generate a spark when you press a button, using a crystal that produces an electric charge when compressed. Battery - operated igniters, on the other hand, rely on batteries to create a continuous spark.
Tools Required for Testing
To effectively test a gas grill igniter, you'll need a few basic tools:
- Multimeter: This tool is used to measure electrical current, voltage, and resistance. It's essential for diagnosing electrical issues in the igniter.
- Screwdriver: Depending on your grill model, you may need a screwdriver to access the igniter.
- Flashlight: A flashlight can help you see inside the grill and locate the igniter more easily, especially in dimly lit areas.
Step - by - Step Testing Process
1. Safety First
Before you start testing, ensure the grill is turned off and disconnected from the gas source. This prevents any potential gas leaks or fires during the testing process.
2. Visual Inspection
- Check for Physical Damage: Look closely at the igniter for any signs of physical damage, such as cracks, breaks, or corrosion. If the igniter is damaged, it will likely need to be replaced.
- Inspect the Wires: Examine the wires connected to the igniter. Make sure they are securely attached and free from any cuts or frays. Loose or damaged wires can prevent the igniter from functioning properly.
3. Testing a Piezoelectric Igniter
- Remove the Igniter: Use a screwdriver to carefully remove the igniter from the grill. This may involve removing a few screws or clips, depending on the grill's design.
- Test for Spark: Hold the igniter away from any flammable materials and press the ignition button. You should see a visible spark at the tip of the igniter. If there is no spark, the igniter may be faulty.
- Check the Resistance: Set your multimeter to the resistance (ohms) setting. Touch the probes of the multimeter to the terminals of the igniter. A healthy piezoelectric igniter should have a specific resistance value. Consult the manufacturer's specifications to determine the correct resistance range. If the resistance is outside this range, the igniter may need to be replaced.
4. Testing a Battery - Operated Igniter
- Check the Batteries: Open the battery compartment and ensure the batteries are inserted correctly and have enough power. Replace the batteries if they are old or depleted.
- Test the Spark: Similar to the piezoelectric igniter, press the ignition button while holding the igniter away from flammable materials. Look for a spark at the tip of the igniter.
- Measure the Voltage: Set your multimeter to the voltage setting. Touch the probes of the multimeter to the terminals of the battery compartment. The voltage reading should match the specifications of the igniter. If the voltage is too low, it may indicate a problem with the batteries or the igniter itself.
5. Testing the Spark Electrode
- Inspect the Electrode: The spark electrode is the part of the igniter that produces the spark. Check for any signs of dirt, debris, or oxidation on the electrode. Clean the electrode gently with a soft brush or sandpaper if necessary.
- Check the Gap: The gap between the spark electrode and the ground terminal is crucial for generating a spark. Use a feeler gauge to measure the gap. Refer to the manufacturer's instructions to ensure the gap is within the recommended range. If the gap is too large or too small, adjust it accordingly.
Common Issues and Solutions
1. No Spark
- Possible Causes: Faulty igniter, loose wires, dead batteries (for battery - operated igniters), or a clogged spark electrode.
- Solutions: Replace the igniter if it's faulty, tighten the loose wires, replace the batteries, or clean the spark electrode.
2. Weak Spark
- Possible Causes: Low battery power (for battery - operated igniters), incorrect electrode gap, or a partially damaged igniter.
- Solutions: Replace the batteries, adjust the electrode gap, or replace the igniter if it's damaged.
3. Spark but No Ignition
- Possible Causes: Gas supply issues, clogged burner ports, or a problem with the gas valve.
- Solutions: Check the gas supply, clean the burner ports, or have the gas valve inspected by a professional.
Related Products
If you're in the market for high - quality gas grill igniters or related components, we also offer a range of products such as gas oven ceramic spark plug ignitor, Baking Oven Ignition Electrode, and Ceramic Spark Electrode For Oven. These products are designed to provide reliable ignition performance and are suitable for various types of ovens and grills.
Contact for Procurement
If you're interested in purchasing gas grill igniters or have any questions about our products, feel free to contact us. We're here to assist you with your procurement needs and provide you with the best solutions for your grilling equipment. Our team of experts can offer technical support and guidance to ensure you get the right products for your specific requirements.
References
- Grill Manufacturer's Manuals
- Electrical Testing Guides for Small Appliances
- Industry Standards for Gas Grill Igniters