

How to test a gas burner ignition needle with a multimeter?
Oct 15, 2025
Leave a message
As a supplier of gas burner ignition needles, I understand the importance of ensuring these components work correctly. One of the most effective ways to check the functionality of a gas burner ignition needle is by using a multimeter. In this blog, I'll guide you through the process step by step.
Understanding the Gas Burner Ignition Needle
Before we delve into the testing process, it's crucial to understand what a gas burner ignition needle is and how it functions. The ignition needle is a critical part of a gas burner system. Its main role is to create a spark that ignites the gas, allowing the burner to produce a flame. When the ignition needle malfunctions, the gas may not ignite, leading to issues with your gas - powered appliances such as ovens and stoves.
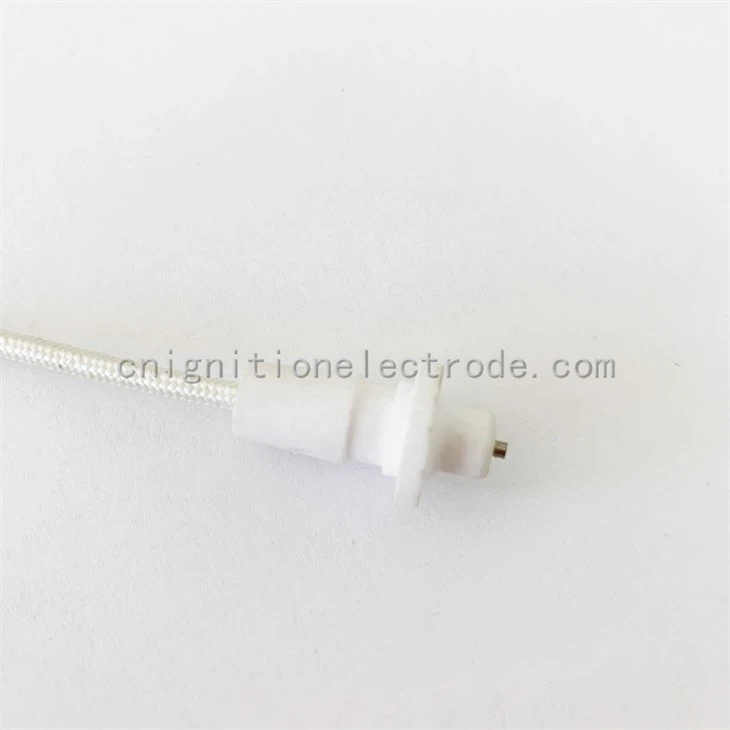
There are different types of ignition needles available in the market. For instance, the Gas Oven Spark Plug is specifically designed for gas ovens. It is engineered to generate a reliable spark in the oven's environment. The Stove Burner Ceramic Ignition Needle is another type, which is often used in stovetop burners. The ceramic material provides good insulation and durability. And the Oven Spark Plug is also an essential component for proper oven ignition.

Tools Required
To test a gas burner ignition needle with a multimeter, you'll need the following tools:
- Multimeter: A reliable multimeter is essential. It should be capable of measuring resistance (ohms).
- Safety Gloves and Goggles: Safety should always be your top priority. Gloves and goggles will protect you from any potential electrical shocks or debris.
- Screwdriver: You may need a screwdriver to remove the access panel to reach the ignition needle.
Pre - testing Precautions
Before you start testing, make sure to take the following precautions:
- Turn off the Power: Ensure that the gas supply and the electrical power to the appliance are turned off. This will prevent any accidental gas leaks or electrical shocks.
- Let the Appliance Cool Down: If the gas burner has been in use recently, allow it to cool down completely. This will reduce the risk of burns.
Step - by - Step Testing Process
Step 1: Locate the Ignition Needle
First, you need to find the ignition needle. The location may vary depending on the type of appliance. In a stovetop burner, the ignition needle is usually located near the burner head. In an oven, it may be in the back or side of the oven cavity. Use a screwdriver to remove the access panel if necessary.
Step 2: Inspect the Ignition Needle Visually
Before using the multimeter, visually inspect the ignition needle. Look for any signs of damage such as cracks, breaks, or corrosion. A damaged ignition needle is likely to malfunction and may need to be replaced.
Step 3: Set the Multimeter
Set your multimeter to the resistance (ohms) setting. This will allow you to measure the electrical resistance of the ignition needle.
Step 4: Test the Ignition Needle
- Disconnect the Ignition Needle: Gently disconnect the wires connected to the ignition needle. Be careful not to damage the wires or the needle itself.
- Connect the Multimeter Probes: Touch the two probes of the multimeter to the two ends of the ignition needle. Make sure the probes make good contact.
- Read the Resistance Value: The multimeter will display a resistance value. A normal ignition needle should have a relatively low resistance value. If the resistance is extremely high or shows an "open circuit" reading (infinity), it indicates that the ignition needle is faulty and needs to be replaced.
Step 5: Reconnect and Test the Appliance
- Reconnect the Ignition Needle: Once you've completed the test, reconnect the wires to the ignition needle.
- Turn on the Power and Gas: Restore the electrical power and gas supply to the appliance.
- Test the Burner: Try to ignite the burner. If it ignites properly, then the ignition needle is working fine. If not, further troubleshooting may be required.
Interpreting the Results
- Low Resistance: A low and stable resistance reading (usually within a certain range specified by the manufacturer) indicates that the ignition needle is in good condition.
- High Resistance or Open Circuit: A high resistance reading or an open circuit reading means that there is a break in the electrical path of the ignition needle. This could be due to a damaged needle, a broken wire, or a poor connection.
When to Replace the Ignition Needle
If the ignition needle fails the resistance test or if you notice any visible damage during the visual inspection, it's time to replace it. As a gas burner ignition needle supplier, we offer a wide range of high - quality ignition needles that are compatible with various gas appliances. Our products are designed to provide reliable performance and long - lasting durability.
Conclusion
Testing a gas burner ignition needle with a multimeter is a relatively simple process that can help you diagnose ignition problems in your gas appliances. By following the steps outlined in this blog, you can quickly determine whether the ignition needle is functioning properly. If you find that your ignition needle needs to be replaced, don't hesitate to reach out to us. We are committed to providing you with the best products and solutions for your gas burner needs. Whether you need a Gas Oven Spark Plug, a Stove Burner Ceramic Ignition Needle, or an Oven Spark Plug, we have the right product for you. Contact us for more information and to discuss your procurement needs.
References
- Gas Appliance Repair Manuals
- Multimeter User Guides